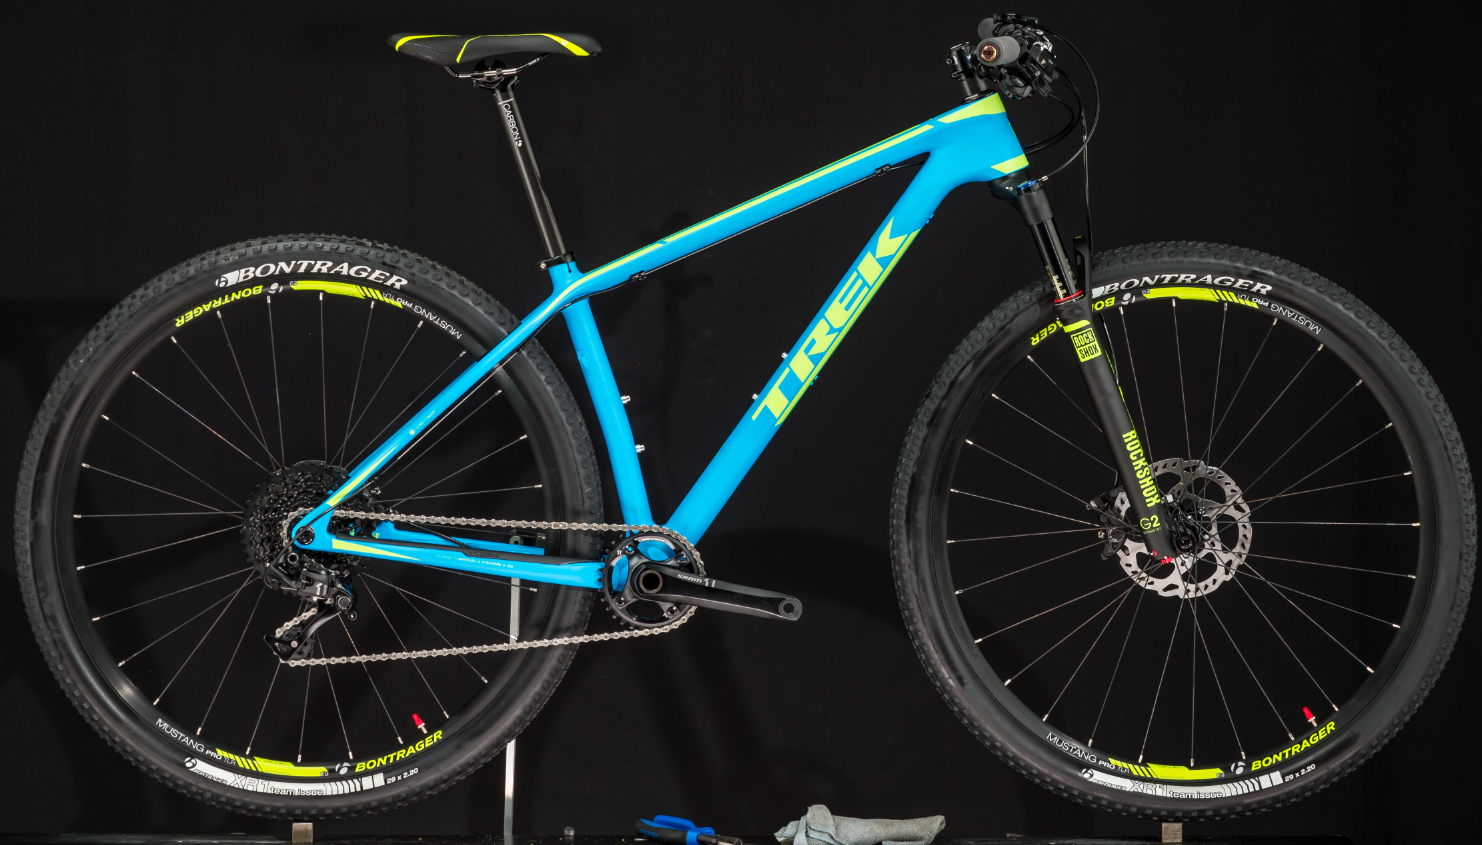
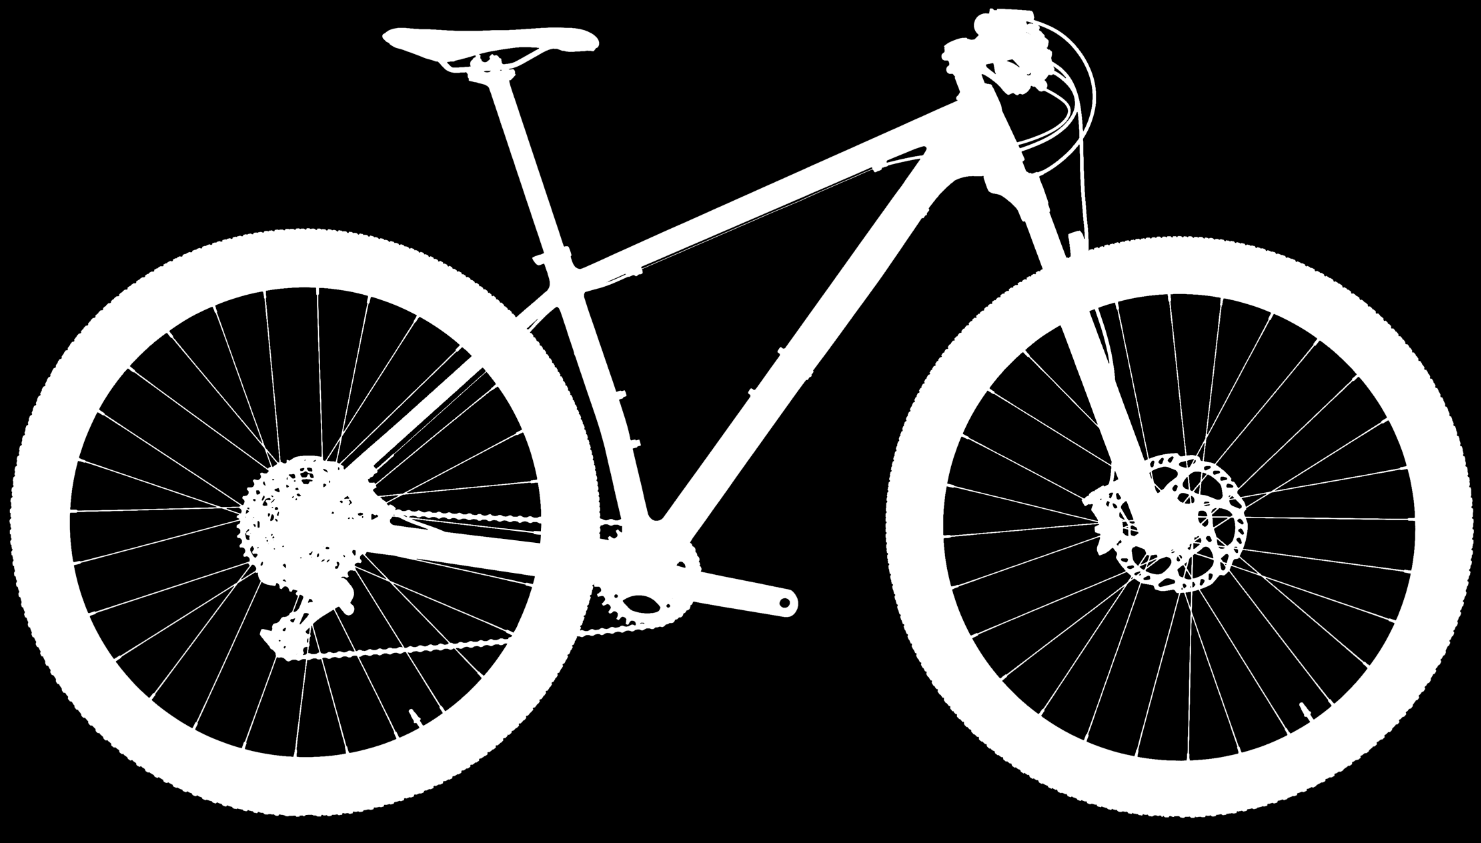
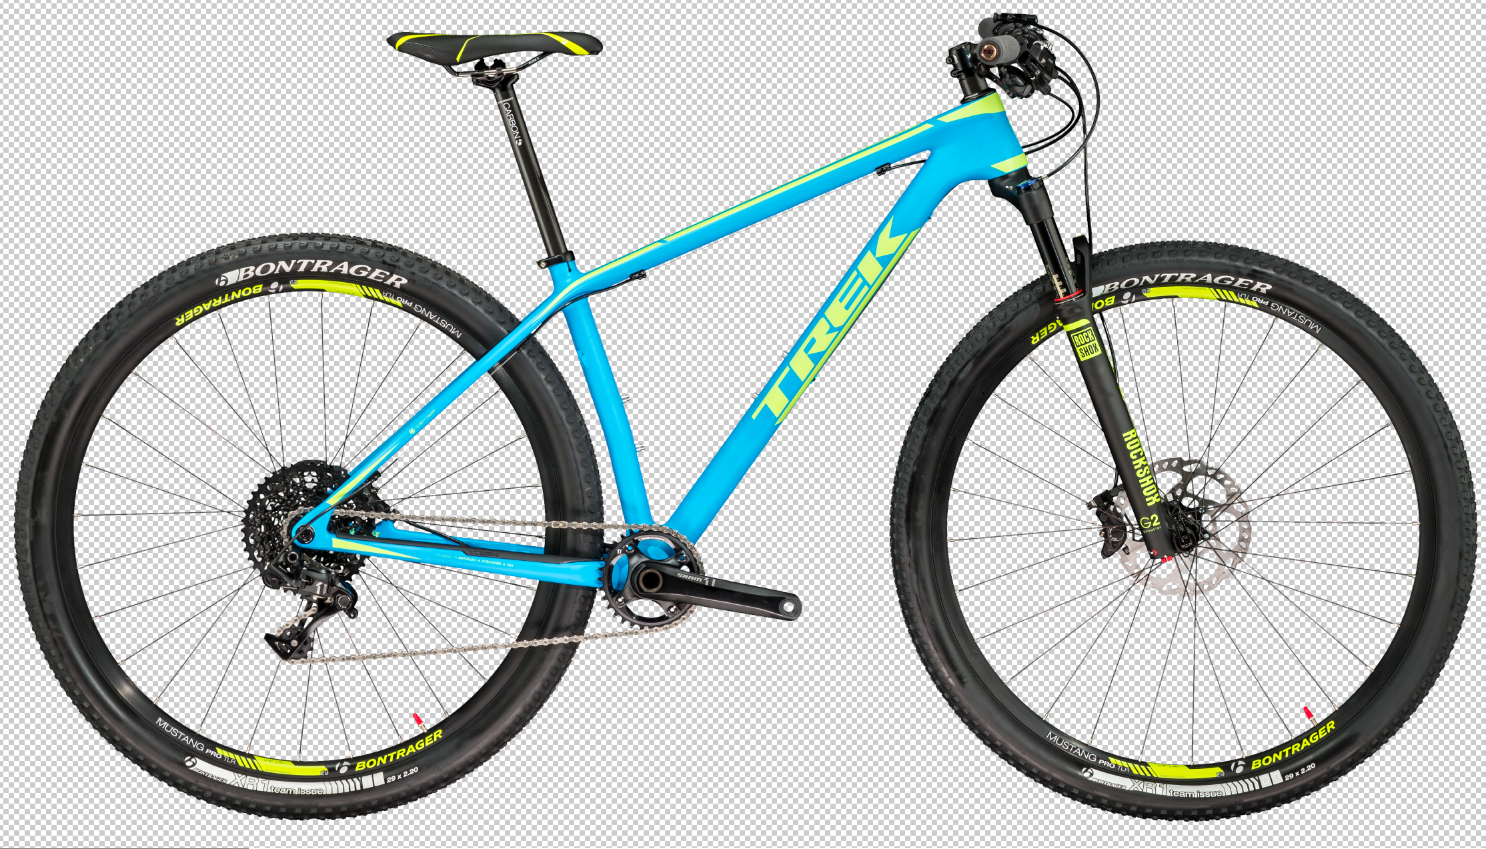
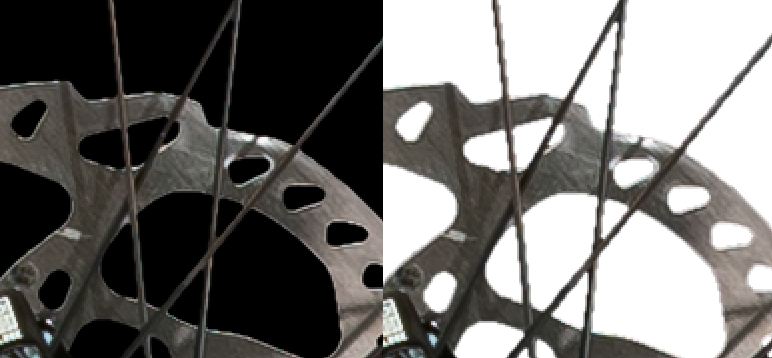
In-Camera Masking technique
When I was first hired to create, manage & staff Trek Bicycles in-house photo studio, my first order of business was to implement a process to shoot a profile of each of Trek's models (approximately 350). All of these needed to be shot over a 3-4 month period, and be very consistent year to year. Previously this process happened 80 miles away at a Milwaukee studio, where all were shot, processed and then outlined so they were on a transparent background.
Seeing how an outline on a bicycle takes 3-4 hours to do properly. I knew there was a better way.
Having done In-Camera Masks using film. I figured this was the perfect place to figure it out for digital.
Using multiple exposures I created a way to process the mask in Photoshop to eliminate any pixel clipping, but be smooth enough to not be pixelated around the edges. This is important in delicate areas like spokes.
The outcome is perfectly masked images that can be created in 5-10 minutes that hold all fine detail with no halo.
_____________________________________________________________________________
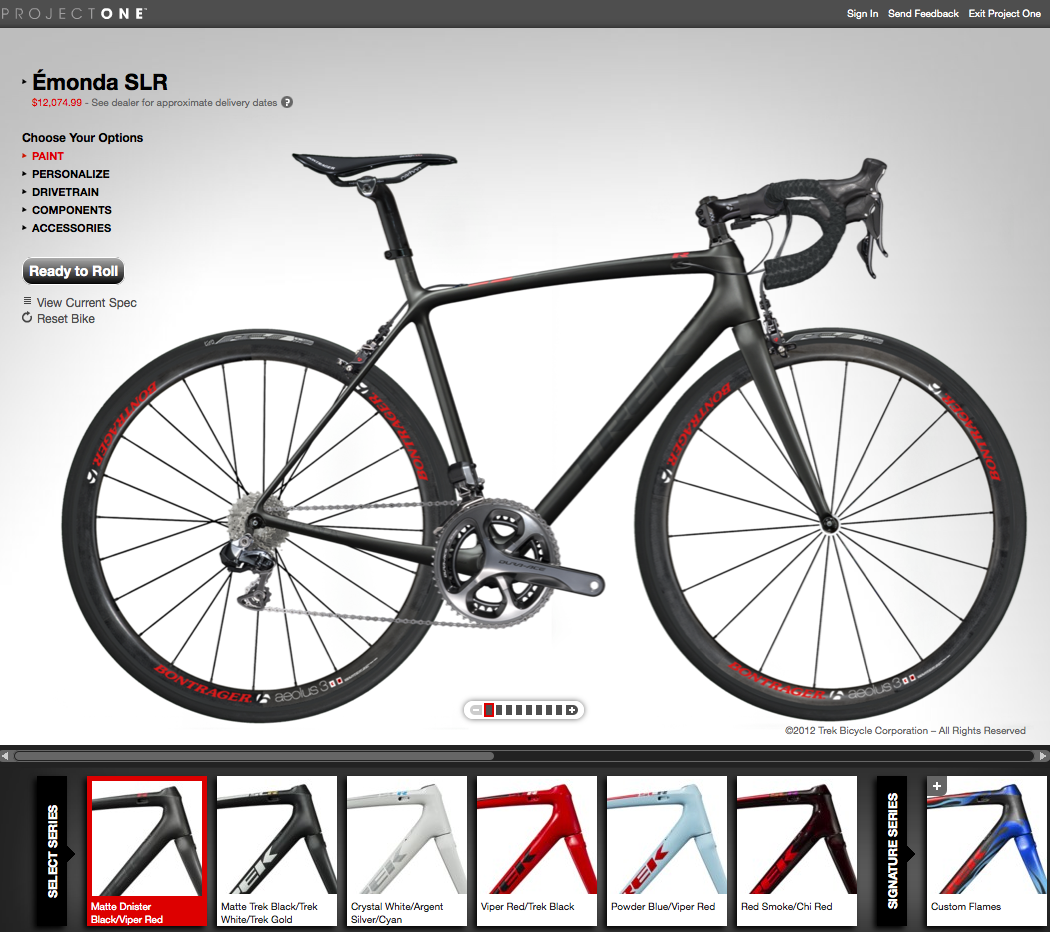
Project One
Also while working for Trek I was tasked to shoot, compile & maintain multiple Photoshop files, each file being a bicycle platform that is comprised of hundreds of layers (as many as a thousand in some cases) of bike frame colors, saddles, wheels, bars, bar tape, etc.... This Photoshop file is loaded into Adobe Scene7 and is a web based bicycle configurator that allows Trek's customers to fully customize the bike they want.
The Photoshop file for these must be layered perfectly in order for the bikes to display properly. These files range in size from 2-8gb.
Example: Trek Project One Emonda
____________________________________________________________________________
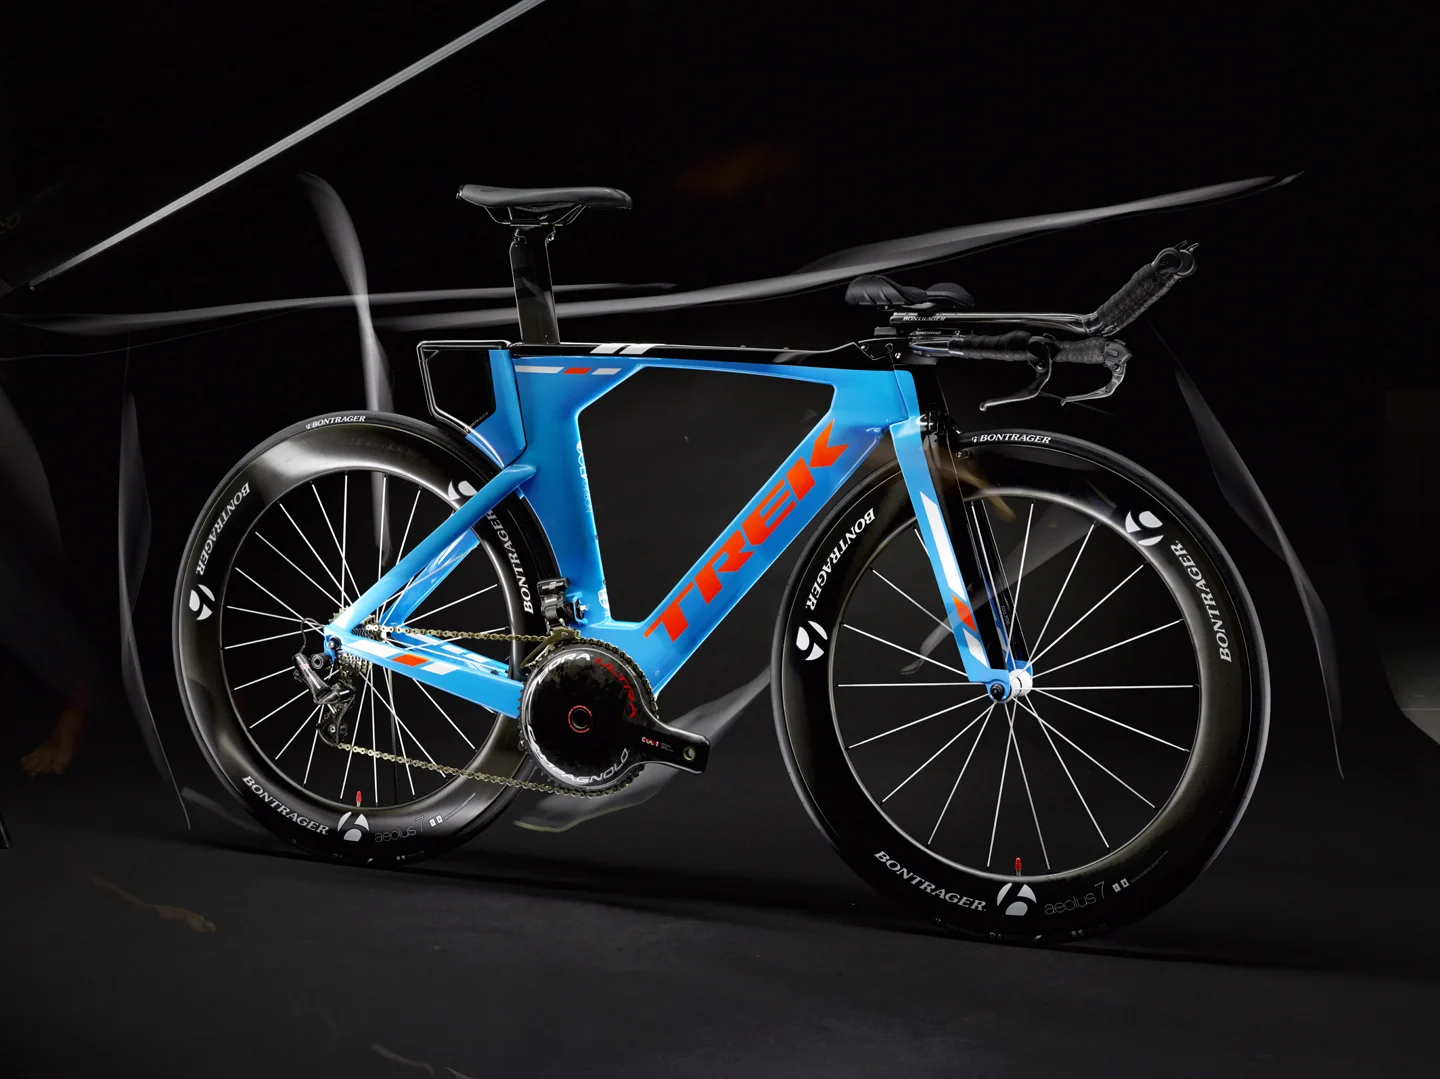
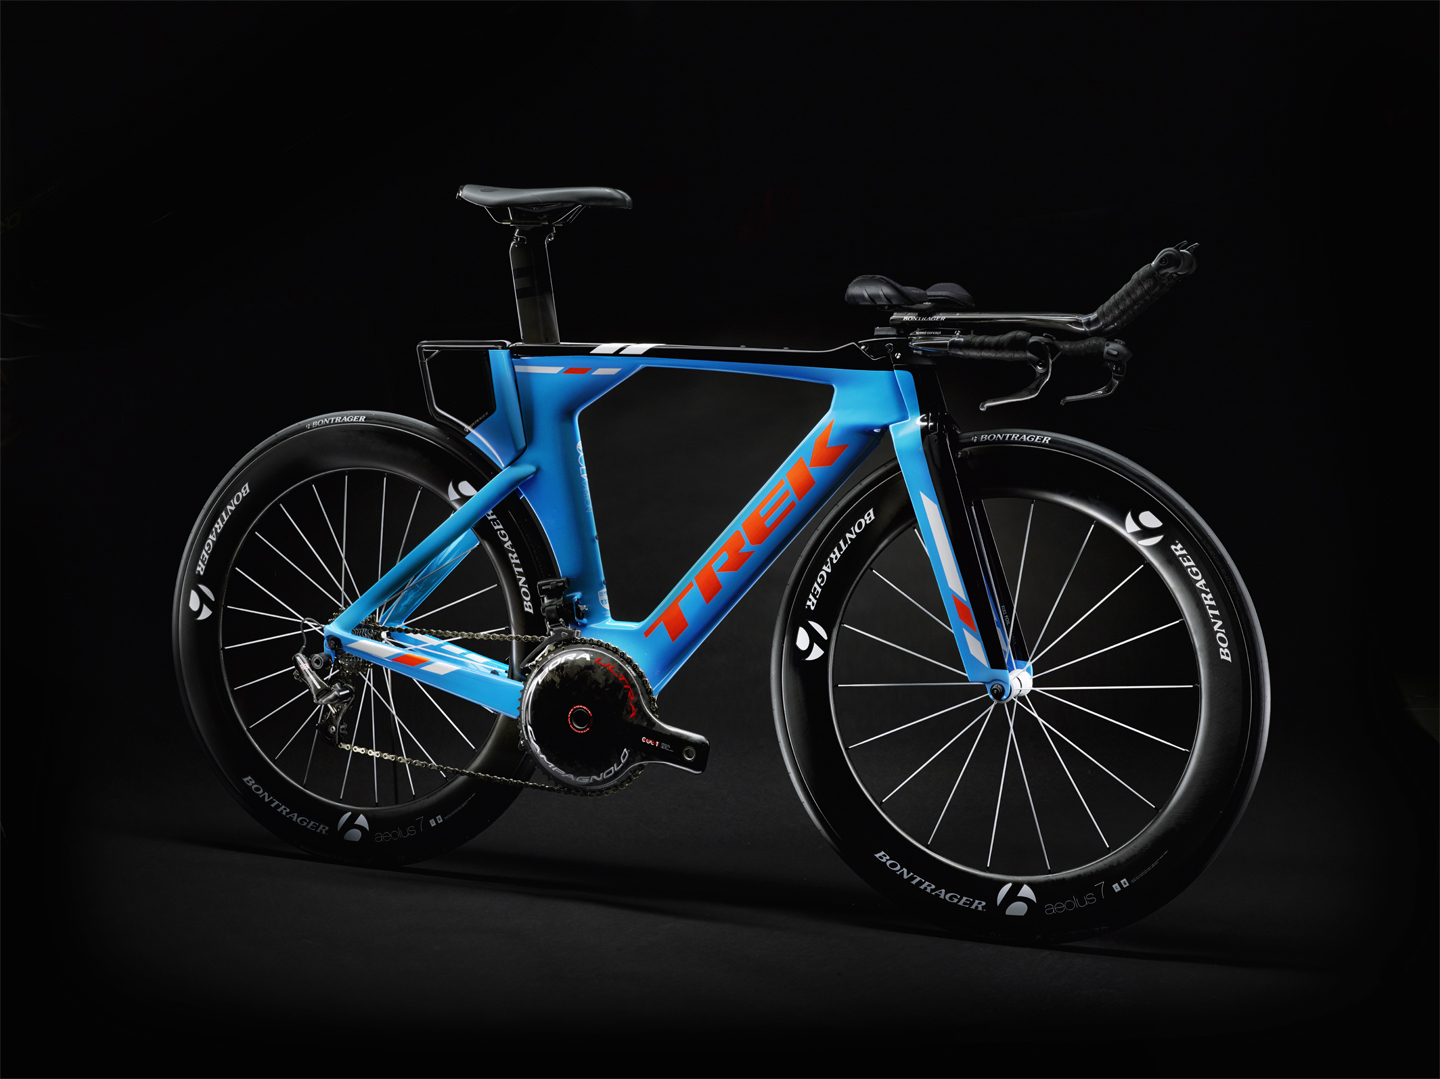
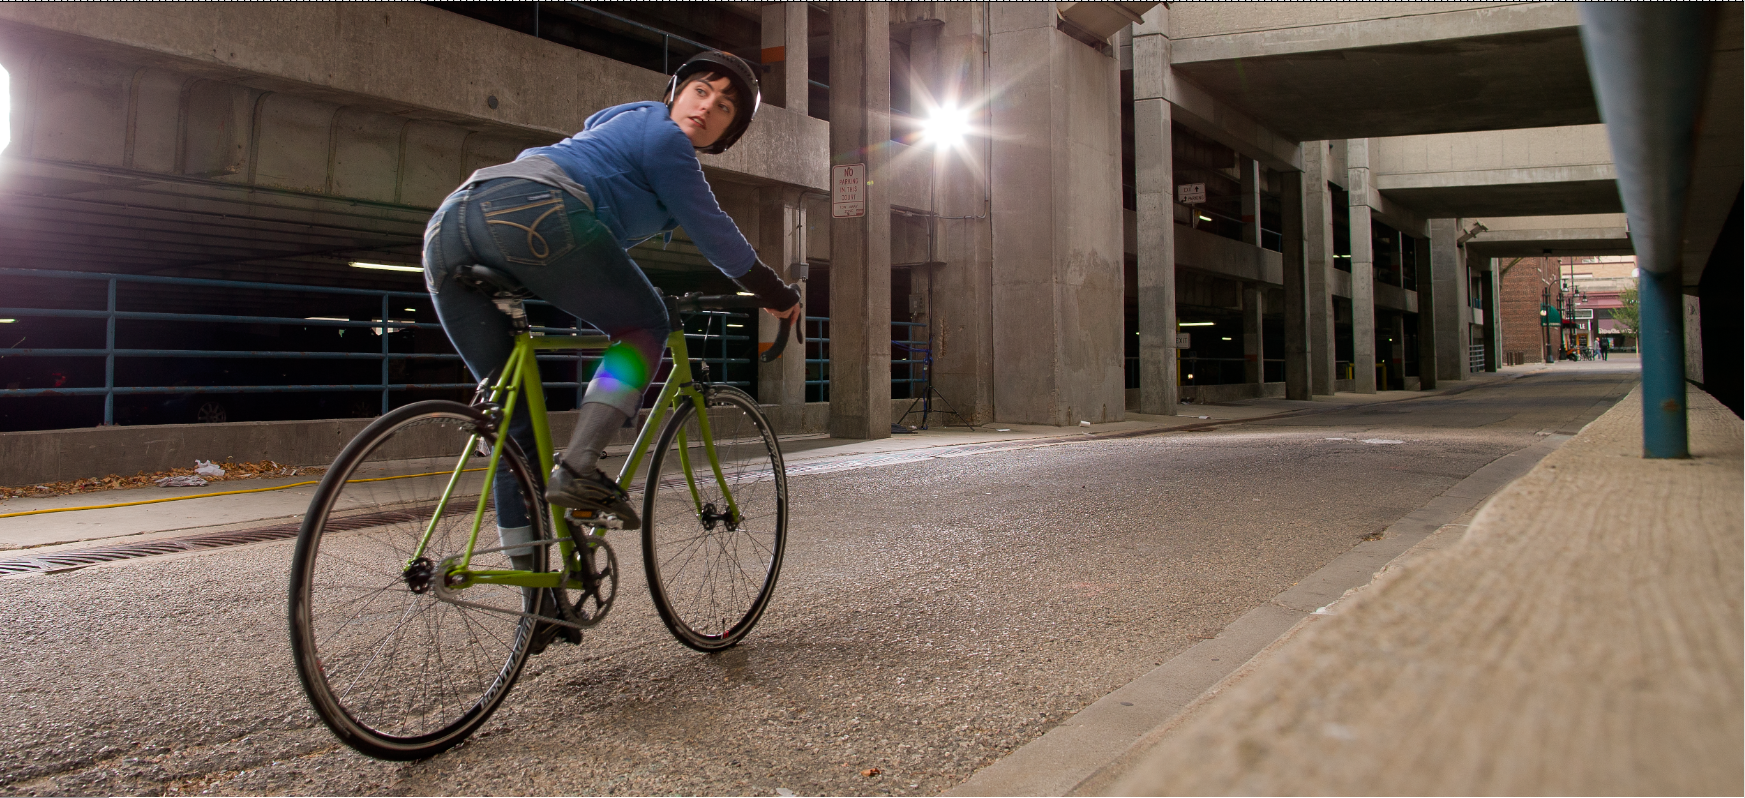
Painting With Light
It's all smoke and mirrors.
____________________________________________________________________________